
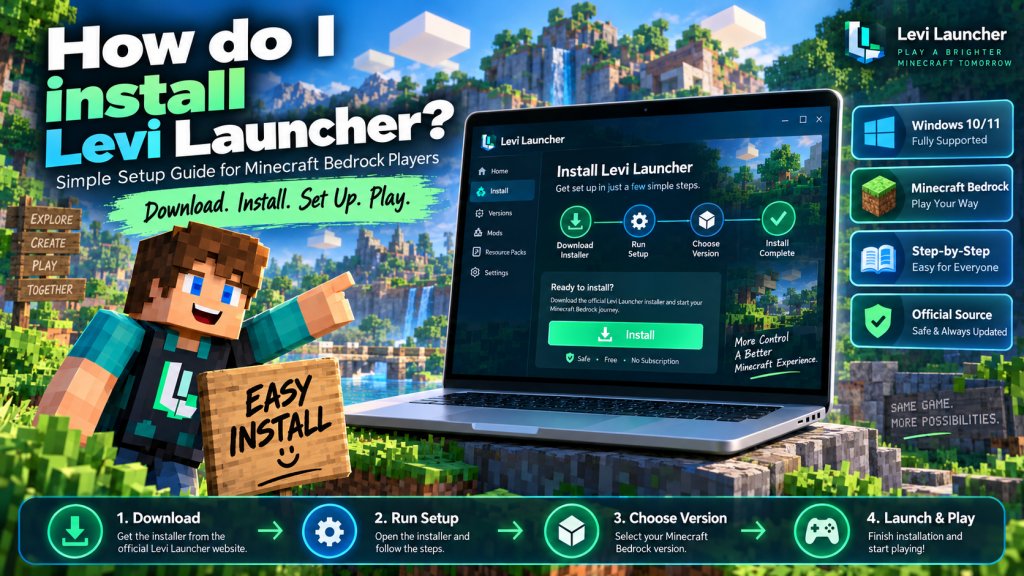
Levi Launcher is a Windows desktop launcher designed for Minecraft Bedrock Edition players who want an easier way to install, manage, isolate, and customize different game versions. Installing it is relatively simple, but preparing your computer correctly beforehand can help you avoid common setup problems and make sure the launcher works as expected.
Whether you want to manage Release builds, experiment with Minecraft Preview, or keep separate installations for different purposes, this guide explains the complete process in a clear and practical way. You will learn about system requirements, official download sources, first-time setup, Minecraft version installation, isolation, and common troubleshooting steps.
Prepare Your Windows PC Before Installation
Before installing the launcher, make sure your computer meets the basic requirements. Levi Launcher currently supports Windows 10 and Windows 11 and is designed for Minecraft Bedrock Edition (GDK).
You also need a legitimate copy of Minecraft Bedrock Edition connected to your Microsoft account. The launcher does not replace the need to own Minecraft, so game ownership should be confirmed before continuing with setup.
Check the Required Components
A working internet connection is needed for downloading Minecraft versions, retrieving version information, checking mirrors, and receiving launcher updates.
Levi Launcher may also require the following Windows components:
- Microsoft Gaming Services
- Microsoft GameInput
- Microsoft Edge WebView2 Runtime
Some of these components may already be installed on your PC. During startup, Levi Launcher can check for missing requirements and may guide you if additional software is needed.
Make Sure Minecraft Bedrock Is Ready
One important step that new users can easily overlook is preparing Minecraft Bedrock itself before using Levi Launcher.
The official documentation recommends installing Minecraft Bedrock Edition from the Microsoft Store at least once. If the Microsoft Store installation or Gaming Services setup appears incomplete, open Minecraft normally before proceeding.
Launch Minecraft Once Before Setup
After confirming that Minecraft opens correctly, close the game before managing versions through Levi Launcher.
This allows the launcher to work with the required Minecraft environment without the game already running in the background. Completing this simple step can help prevent avoidable setup problems later.
Download the Official Levi Launcher Installer
Once your system is prepared, download Levi Launcher from an official source. Using a trusted source is important because unofficial files may be outdated, modified, or unsafe.
The recommended option is the project’s GitHub Releases page. This source provides the official installer together with release notes and information about changes introduced in different versions.
Choose a Trusted Download Source
The main Levi Launcher repository also identifies GitHub Releases as an official download location. If GitHub downloads are slow in your region, the developers also provide a Lanzou Cloud mirror.
Most users may still prefer GitHub because it makes it easier to review release history before downloading. Avoid unofficial download sites, modified installers, cracked versions, or pages promising free Minecraft access.
Run the Setup Wizard Correctly
After downloading the installer, locate it in your browser’s Downloads folder or the location you selected when saving the file.
Double-click the installer to begin. If Windows displays a permission or security prompt, review the publisher and source before continuing.
Follow the Installation Steps
The normal setup process is straightforward:
- Open the official installer.
- Review any Windows permission prompts.
- Follow the setup wizard instructions.
- Allow the installation to finish.
- Open Levi Launcher after setup is complete.
Once the launcher starts, it may check whether the required Windows components are available.
Recent versions also include checks related to WebView2 and improved startup diagnostics, which can help identify problems before the main interface loads.
Set Up Your First Minecraft Version
Installing Levi Launcher does not automatically install every Minecraft version you may want to use. Those versions are managed from inside the launcher itself.
The basic process is simple:
- Open the Download section inside Levi Launcher.
- Select either a Release or Preview build.
- Choose the specific Minecraft version you want.
- Decide whether the installation should be isolated.
- Start the installation and let it finish before launching the game.
This system allows users to manage multiple Minecraft versions without relying completely on one standard installation.
Choose Between Release and Preview Builds
Selecting the right type of Minecraft build can make your experience smoother, especially if you are new to version management.
A Release version is usually the better choice for normal gameplay. It is more suitable for long-term worlds, regular play, and users who want better predictability with mods and resource packs.
When to Use Preview Builds
Preview builds are intended more for experimentation. They allow players to test upcoming Minecraft features before those changes become part of the normal stable release.
Because Preview versions may introduce bugs or compatibility changes, most new users should begin with one stable Release installation and add Preview builds later when they specifically want to test experimental features.
Understand the Isolation Option
During Minecraft version installation, Levi Launcher gives users the option to enable isolation.
An isolated installation keeps one Minecraft environment separate from another. This is especially useful if you use different versions, test modifications, or experiment with Preview builds.
Why Isolation Can Be Useful
For example, you might keep one stable installation for regular gameplay and create another isolated setup for mods or experimental versions.
This can make different environments easier to manage and reduce the chance of mixing files between setups. However, isolation should not replace normal backups.
Always create copies of valuable Minecraft worlds before making major changes, installing experimental modifications, or moving between unusual configurations.
Solve Common Installation Problems
If Levi Launcher does not install or start correctly, check the basic requirements before reinstalling everything.
Missing Microsoft Gaming Services, GameInput, or WebView2 Runtime can cause setup or startup problems. Minecraft ownership and Microsoft Store installation status can also affect whether version management works correctly.
Check Permissions and Downloads
Other possible causes include:
- Insufficient write permissions
- Interrupted downloads
- Problems with a selected download mirror
- Missing Windows components
- Incomplete Minecraft setup
If a download fails, try again after checking your internet connection or switching to another available mirror.
Recent Levi Launcher versions can also generate startup diagnostic information. These logs can help identify why the application failed before the main interface appeared.
Report Difficult Problems Properly
If a problem continues after checking the basic requirements, you may need to report it through the project’s support or GitHub Issues section.
A useful bug report should include enough information for developers to understand and reproduce the issue.
Try to include:
- Your Windows version
- Your Levi Launcher version
- The steps that cause the problem
- Relevant logs
- Screenshots of the error
Providing clear details makes troubleshooting much easier than simply reporting that the launcher does not work.
Keep Your Installation Secure and Organized
Once Levi Launcher works correctly, keep both the launcher and your Windows components updated. Future launcher updates should be downloaded only from official project sources rather than unfamiliar websites.
It is also a good idea to use clear names for different Minecraft installations, especially if you manage multiple Release, Preview, or modded setups.
Maintain Regular Backups
Important Minecraft worlds should be backed up before testing Preview releases, installing mods, or making major configuration changes.
Players who only want normal gameplay may need just one stable Release installation, while more advanced users can create additional environments for testing, modding, or experimenting with new features.
Conclusion
Levi Launcher can be installed easily when your Windows system and Minecraft Bedrock setup are properly prepared. Make sure you are using Windows 10 or 11, own a legitimate copy of Minecraft Bedrock Edition, have the required Microsoft components available, and download the installer from an official source.
Levi Launcher becomes especially useful when you want separate Release and Preview installations or more control over different Minecraft environments. Starting with one stable isolated setup, keeping valuable worlds backed up, and avoiding unofficial installers can help you maintain a safer and more organized Minecraft experience.